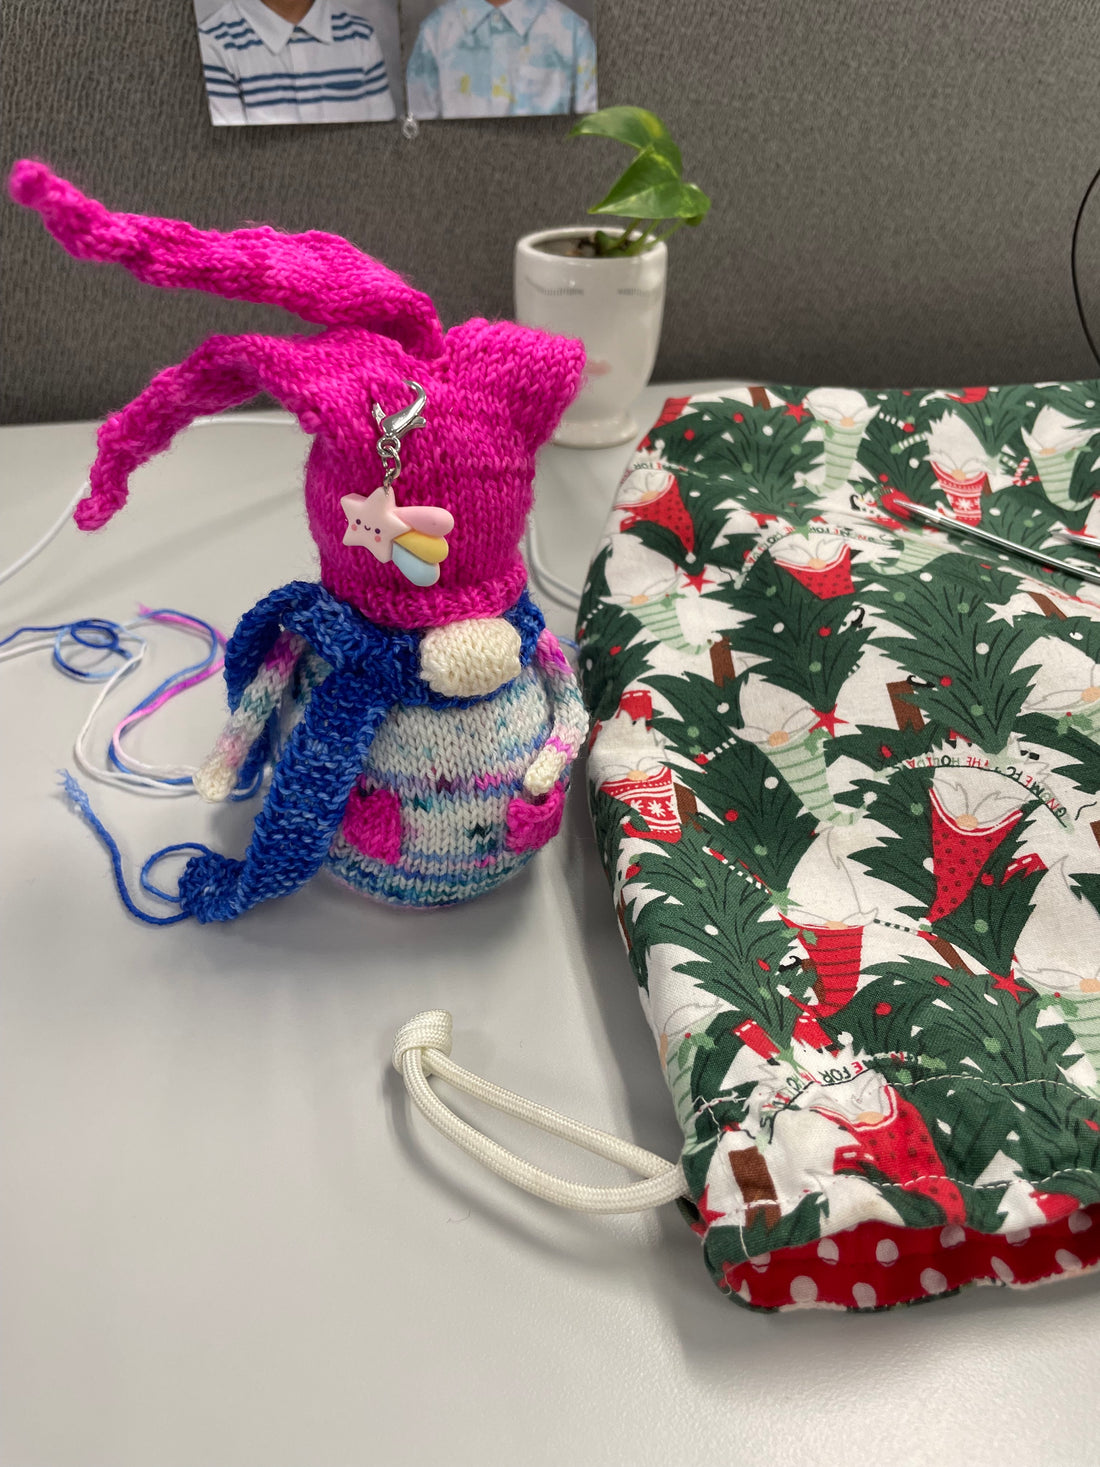
Finishing your knitting projects is an important step that can make a big difference in the final appearance of your work. Here are some tips on how to finish your knitting projects like a pro:
-
Weave in your ends: Weaving in your ends is essential to ensure that your work doesn't unravel. To weave in ends, use a tapestry needle to thread the yarn through the stitches on the backside of your work, making sure to secure it in place.
-
Block your project: Blocking is the process of wetting or steaming your finished project to even out the stitches and shape it. This can help your project look more polished and professional. Follow the instructions for your specific fiber and pattern to block your project.
-
Sew on buttons or other embellishments: If your project requires buttons or other embellishments, take the time to sew them on securely. Choose a thread that matches the color of your work and use a needle that is appropriate for the thickness of your yarn.
-
Trim any excess yarn: After weaving in your ends, trim any excess yarn to prevent it from showing through or getting tangled.
-
Seam your pieces together: If you're working on a project with multiple pieces, such as a sweater, you'll need to seam them together. Use a tapestry needle and matching yarn to sew the pieces together, taking care to make the seam as invisible as possible.
-
Iron or steam your project: After blocking and seaming, you may want to iron or steam your project to set the stitches and remove any remaining wrinkles.
-
Take photos and share your work: Once your project is finished, take some photos to document your hard work and share them with others! You can share your work on social media or in online knitting communities to inspire others and get feedback on your work.
Finishing your knitting projects is an essential step that can make a big difference in the final appearance of your work. By following these tips, you can ensure that your projects look polished and professional. Happy knitting!

